Bathroom Vanity Build Part I - Building the Base
Welcome to Part I of my series on how to build a custom bathroom vanity. In this part I will show you how I built the detached external base for the project. This post contains a little background to the project as well links to the plans I made ,and sort of followed, and to the entire video showing the build from start to finish. I’ll also add links at the end to the tools and some of the supplies that I used in the video.

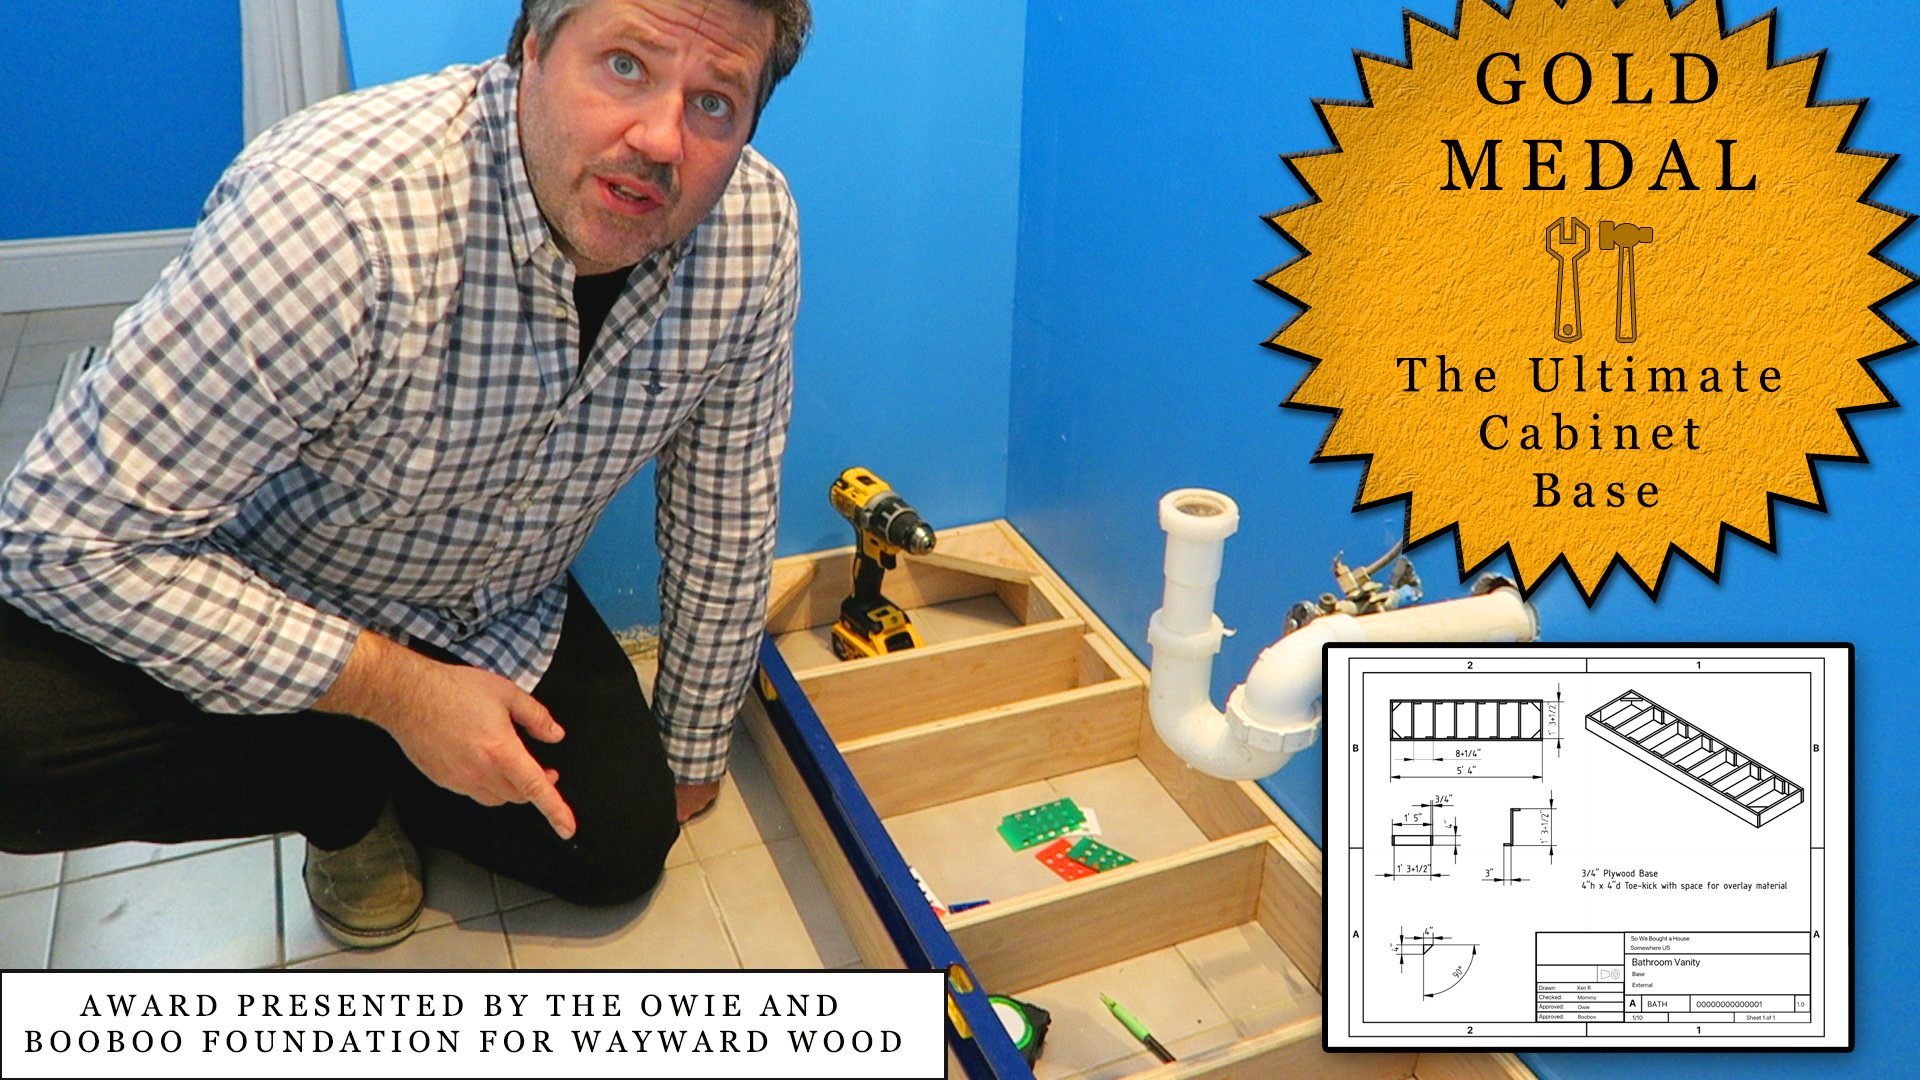
The finished base.
When we first moved into the house the upstairs guest bathroom looked ok but was dated. Upon closer inspection, we found out that the vanity had a leak from a pipe where for some unknown reason they decided to tap off of the cold water line and then cut it and squeeze the copper feeder to seal it. (It didn’t hold) This leak destroyed the base of the vanity that was made out of a masonite type of press board material. It had swollen up and begun to fall apart from soaking up the water The big problem was that it was growing mold. So with an infant already in the house, I tore it out, trashed it and cleaned up the mess. That was was almost three years ago . . .

The missing vanity conundrum
Life happens and you fall behind on things, but after three years, even I was was getting angry at myself that i hadn’t replaced it. I repaired other pieces of the bathroom, like the door and the toilet and the molding, but just never got to the vanity.
Now the vanity issue was not entirely my fault. The original one was sort of custom to fit between the two walls between the shower/bath and the hallway. I say “sort of” custom because the reality was the vanity was too big and the installer just cut into the wall to force it into place and the wall itself wasn’t perfectly straight . . . on well any of the sides. The area for the vanity was also pretty large at 64 inches, but was only plumbed for a single sink.

The hole where a vanity once was.
Because it was such a large space, I found it really hard to find a vanity that would fit the opening off the shelf at the box stores that was also plumbed for a single sink. I could only find double sink options and to be honest I wasn’t very impressed with the quality of any of the options and they all seemed to cost a fortune. This is a kids bath, I wasn’t doing a full remodel and I wasn’t about to spend between two and three thousand dollars for something. Tied up with hundreds of other projects, this project just sat .. until now.
I’m finally going to give it a try and build my own vanity. I quickly taught myself some CAD, and after about 500 hours or so I came up with these plans . . . for the base. Small steps! I’m working on the rest :)

Plans - for a base - the best base ever! It is bigly impressive. (click the picture to download the PDF)
And finally, here is video showing the steps start to finish on how I completed this stage of the project.
Materials needed:
4x8 sheet of 3/4 plywood.
Titebond II glue. Titebond II is water resistant making it a good choice for a bathroom vanity glue-up.
Tools I used in this video.
These are affiliate links, so if you see something you like and buy it you can support the site. No pressure :)
If you ever need any help with this project or any other ... just ask by leaving a comment, sending a tweet or hitting us up on email.